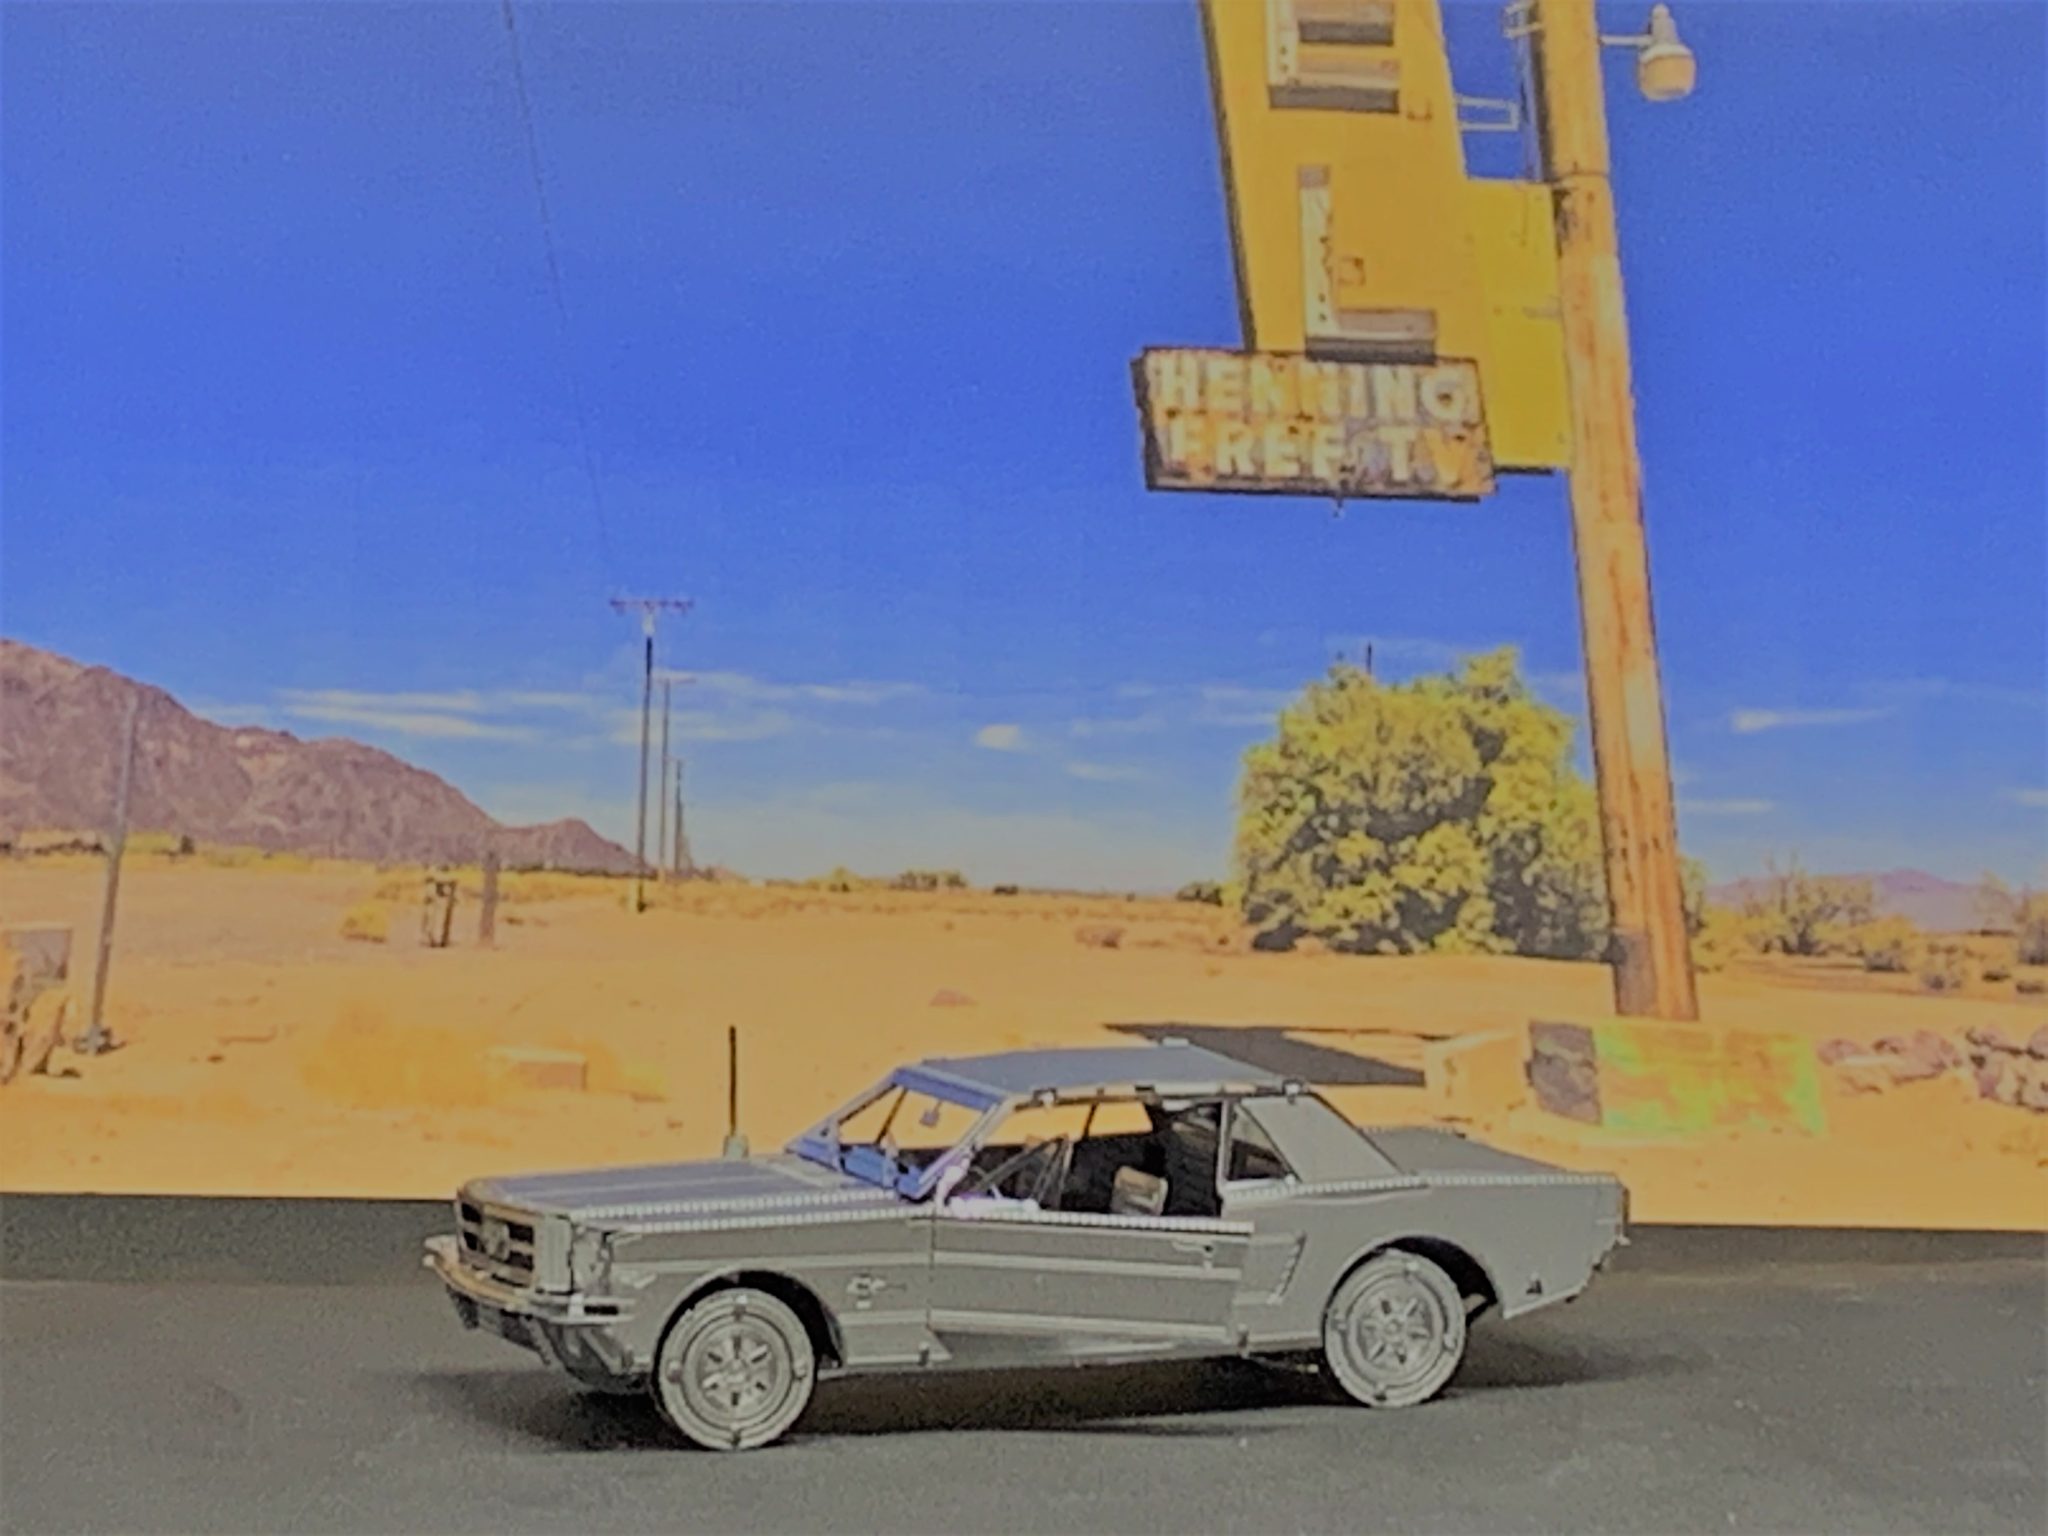
The Metal Earth 1965 Ford Mustang is a really fun kit that builds into a nice little model of this classic car. I worked on it over several short building sessions, but only because it’s been a particularly busy season and I kept getting interrupted. If you have a spare afternoon, however, you could probably bang this out fairly quickly.
First let’s take a look at the real-life subject …
The 1965 Ford Mustang
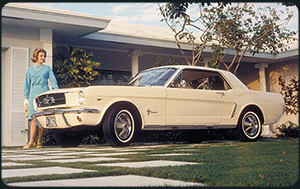 From the back of the Metal Earth package, the ’65 Mustang:
Ushered in a new class of automobile known as the pony car. It’s revolutionary design, featuring the long hood and short deck, proved wildly popular and, according to Ford, 22,000 orders were taken the day it debuted. The Mustang featured a base 170 cubic inch six-cylinder engine with a three-speed floor shift transmission, full wheel covers, bucket seats, carpeting, and a padded dash for a base retail price of $2,320. An optional 260 cubic inch V-8 engine was also available.
To say it was a runaway success for Ford would be a huge understatement. It set an all-time record for first year sales of any new model, eventually moving nearly 700,000 units — a record that is unlikely to be surpassed given today’s fragmented auto market.
Half a century later, the ’65 Mustang remains an American icon, still turning heads at car shows.
Building the Metal Earth Mustang
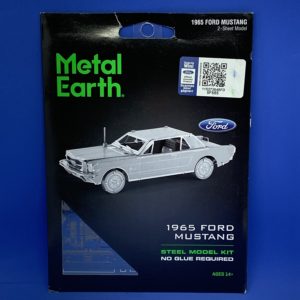 [The Metal Earth 1965 Ford Mustang kit is available from Innovatoys – Click here]
The kit contains 2 metal sheets. The skill level printed on the side of the package rates it at 5 out of 10. Overall, I think that’s about right. It might have been rated even easier except, as we’ll see, when you get to building the front grill section. That on it’s own poses enough challenge to raise the meter by a couple points.
It’s still, however, very build-able, even for beginners to 3D metal modeling.
The build starts …
… with the upper body of hood, roof and trunk, which come as 2 pieces that need to be joined together. It’s very straightforward, and then you move to attaching the side panels. Be careful here. You need to fold the entire length of each side down at 90 degrees first (shown in red on the instructions), before bending the window frames back up. If you don’t do it in that order — if you try to do it in sections instead — you’ll probably end up with twists in places you don’t want them.
Moving on to instruction page 3 …
… I found the aerial (part #5) a pain in the neck to shape. The difficulty is that it’s just such a small part. Take your time. I found it helpful to use the smallest cone shaped mandrel I have to shape the base. The sharpened end of a pencil would work just as well.
Once the aerial is shaped, you need to attach it to the car body …
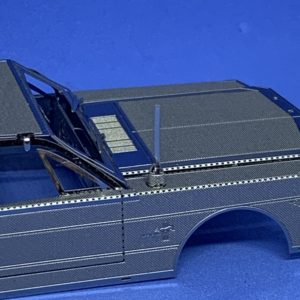
TIP: when attaching small detail parts like this, they can sometimes be prone to sitting loose or even flopping around. A quick and effective solution is to (1) twist the tabs as tightly as you can, (2) position the part precisely how you want it to sit on the model, and then (3) apply a drop of superglue directly on the twisted tabs on the back / interior. (Check out the superglue I use on the Best Tools page.)
This method worked perfectly, holding the aerial firmly and permanently in position.
Shaping the wheel wells
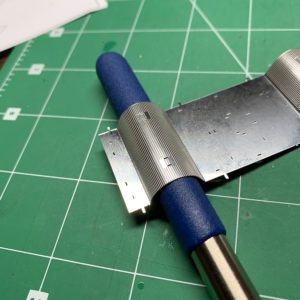
For the next step, you’ll need to find a cylindrical tool or object around your house that you can use to shape the wheel wells around. (If you’re a beginner, the instructions could be confusing at this point because they show this process, but don’t specifically tell you that these shapes are not included.)
I used the handle of one of my steel mandrels. It has a 1/2 inch diameter, which turned out well. So, any 1/2 inch dowel or other cylinder will be fine.
Adding the interior detail
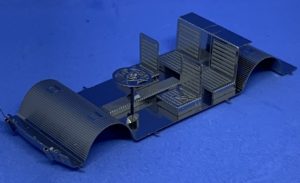
With the wheel wells formed, it’s time to add the seats, steering wheel and gear shift. This all goes together quite easily. The steering wheel rod is made up of 3 parts. They’re not hard to assemble, but they are very small pieces which can be tricky to handle and may be hard to find if you drop one. So, just take your time.
Tip: The four tabs which fold over on top of the steering wheel itself will be visible in the car. For best strength and the nicest look, I folded all four of these tabs in one direction (I chose anticlockwise).
There are two of part #15, both to be attached to the outside of the front fender, and you’ll notice that the instructions don’t specify whether you should twist or bend the tabs (usually indicated by a green triangle or a blue circle). My default is to twist whenever possible, as it provides greater strength. These tabs will not be seen later, and this was definitely the right choice.
Building the chassis
Pages 5 and 6 of the instructions show very clearly how the chassis goes together, and it’s quite a simple process.
Two things I would point out:
- The two axles are each comprised of three box shaped parts. Fold the smaller pieces (#17) FIRST and attach them to the larger piece (#16) BEFORE you fold this larger part. If you don’t, you won’t be able to twist the interior tabs properly.
- Again, use a cylindrical object to form the “tires” (#19) into nice round circles. The diameter is 7/16 of an inch.
Next, on Page 7 of the instructions, you will bring the two assemblies you’ve built together: the body and the chassis …
Now it starts looking like a ’65 Ford Mustang!
Once you have the body and chassis together, the model will start to feel much more solid, and the interior detail will be protected.
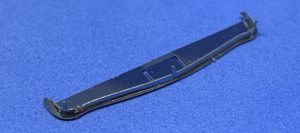
Note: there is an instruction at the bottom of page 7 which can prove more difficult than it needs to if you don’t do it the right way. I’ve found there’s a trick to making this kind of attachment … TIP: In a situation like this, part #28 needs to be bent to shape. You will find this so much easier if you simply attach it to part #29 BEFORE you do all the bending. Get it secured in place with it’s tabs, and THEN take your tweasers and bend it into shape. Easy!
So far, so good! At this point I was thinking “The Metal Earth 1965 Ford Mustang has to be one of the easiest kits I’ve ever built.”
Whenever you start thinking that … brace yourself …
The front grill assembly
We’ve arrived at the very last page of the instructions — the home straight — but this part of the build is by far the most difficult. Don’t panic … you can do it. But take your time!
The most troubling part of the procedure for me was trying to attach the previous assembly (shown above, parts #28 and #29) to the front end. Lining up those four tabs and slots took quite a while. TIP: The key to this is to realize that the angle at which the front “apron” is folded affects the distance between each slot that you’re trying to line up with the tabs. So you need to have patience and keep making TINY adjustments to the angle of those four pieces that make up the apron, until the slots line up with the tabs.
Phew! Was I glad that was over.
One final note: it matters which way up you position part #32. Make sure the two small slots on either side of the “mesh” are pointing UP.
The Completed Metal Earth 1965 Ford Mustang
All that’s left to do is decide if you want to pose your Mustang with the doors open or closed. (I chose to just leave the driver’s door open.)
I love it! (Check out the finished model in the short video below.)
In conclusion
This was a really fun build, and a good one to fit in between bigger projects. It really doesn’t take long to put together, the detail is very nice, and it doesn’t pose too much drama.
I highly recommend this kit! [Available from Innovatoys – Click here]
Was this build report useful? Have you built the Mustang yourself? I’d love to read your comment below.

Leave a Reply